Your preferred carrier may not ship to PO Boxes. If so, you can use Intuitive Shipping to prevent a customer with a PO Box address from checking out. The setup process is really simple!
How It Works
With this guide, you can prevent customers with a PO Box address from checking out completely, so that only customers with a street address can get a shipping method at checkout.
When you add the PO Box exclusion condition to your Scenarios, customers with a PO box address will see an error message when attempting to calculate shipping. They will be unable to check out until they enter a valid street address. We recommend including a statement somewhere on your store’s website, such as your Shipping page or in the footer, that indicates you do not ship to PO boxes.
If you have more than one Scenario, be sure to add the PO Box condition to each Scenario affected by your PO Box restriction.
And, if you want to offer an alternative shipping method that ships to PO Boxes, such as USPS or Canada Post, you will need to create additional Scenarios that have a PO Box inclusion condition.
Add A PO Box Exclusion Condition
This will prevent customers with a PO Box address from getting shipping methods assigned to the Scenario.
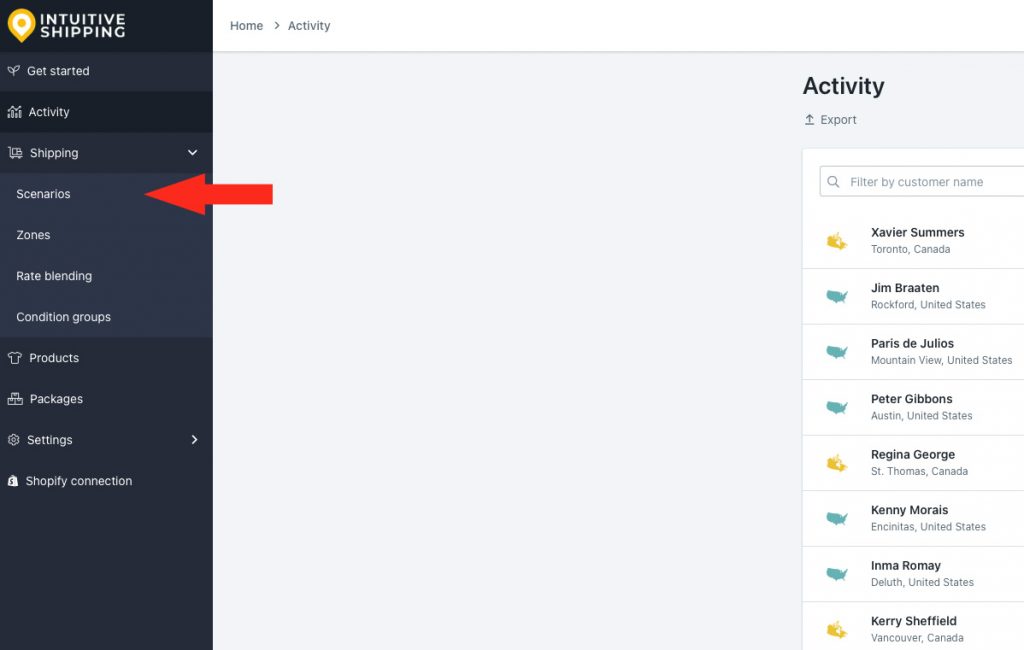
1) Click Shipping on the sidebar menu, then select Scenarios from the drop-down list.
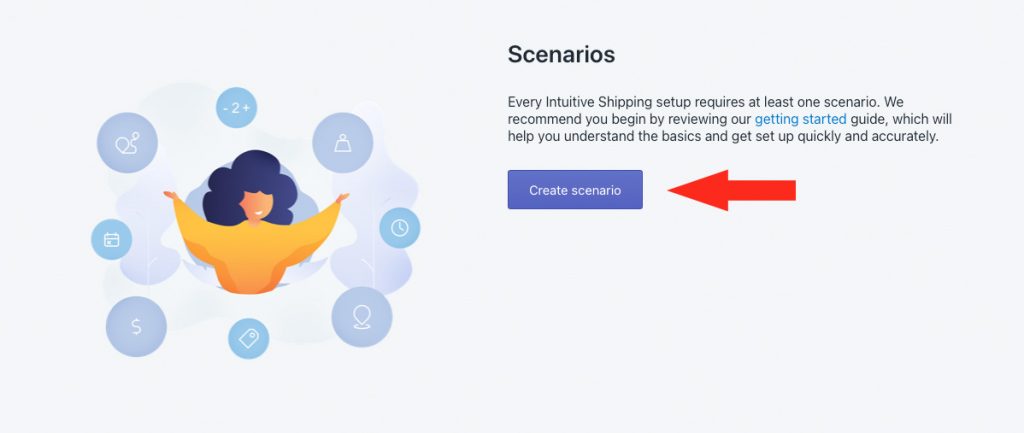
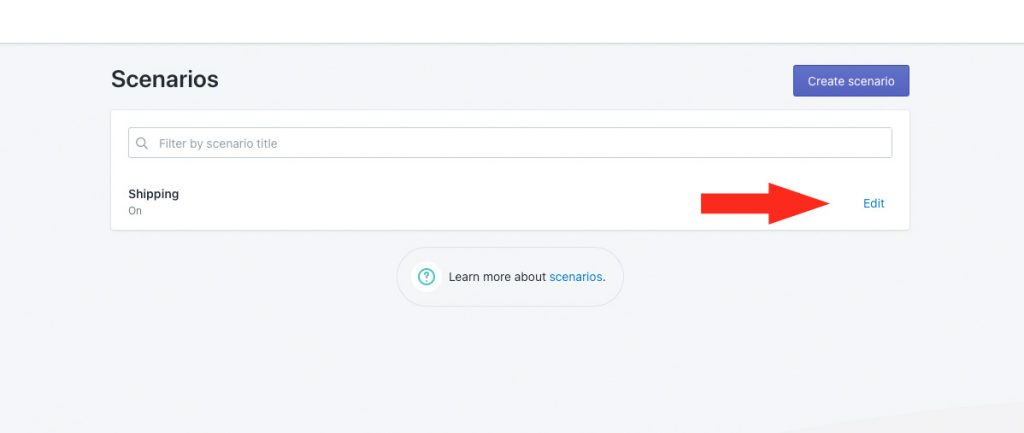
2) Create a Scenario or edit an existing one.
3) If you are creating a new Scenario, enter a title and check that the status is set to ‘On’. If you are editing an existing Scenario, leave the general settings as-is.
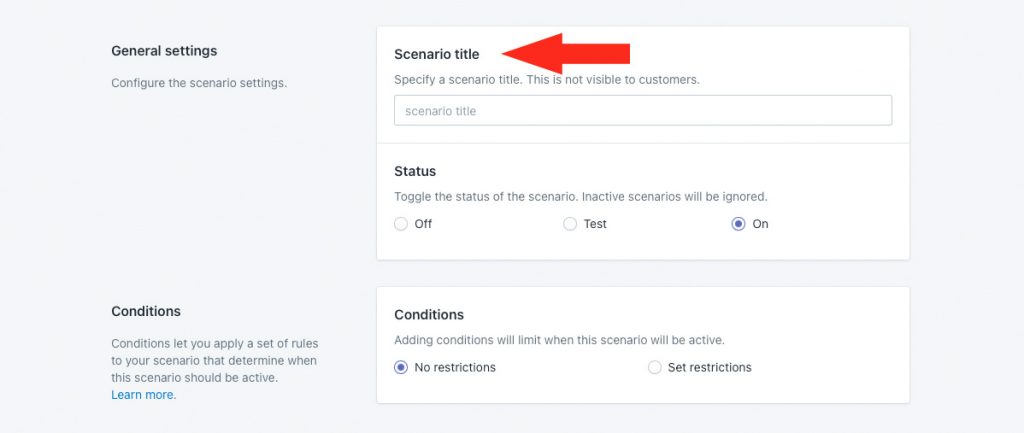
4) If you are creating a new Scenario, select Set restrictions. If you are editing an existing Scenario, leave any previous conditions as-is.
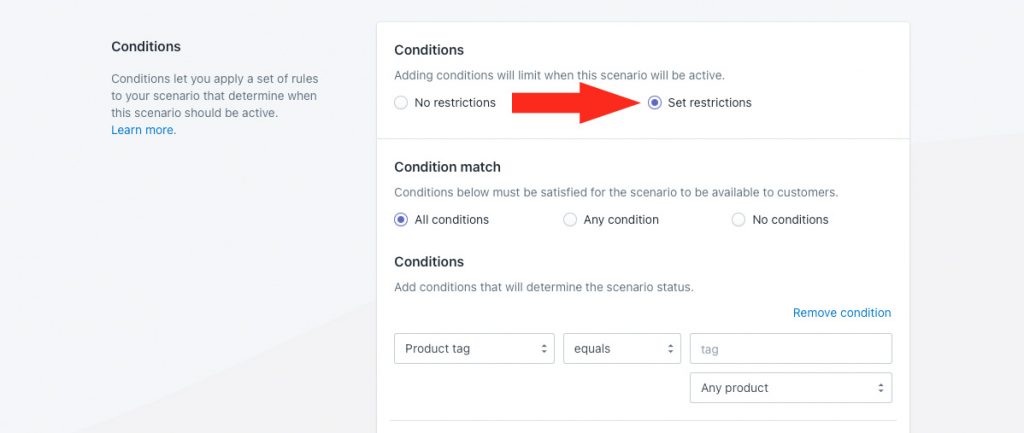
5) If you are creating a new Scenario, select ‘Post office box’ from the Customer condition section of the condition type drop-down list. If you are editing an existing Scenario that has other conditions, click the Add another condition button first, then select ‘Post office box’ from the Customer condition section of the condition type drop-down list.
The default state for this condition is Post office box > equals > No.
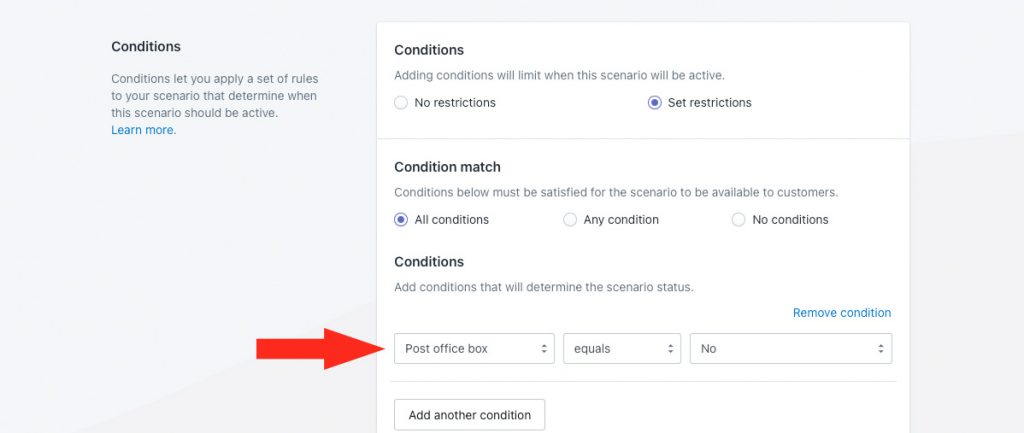
That means the shipping method assigned to the Scenario will be activated only if a PO Box is not included in the address.
6) Click the Save button to save the PO box exclusion condition.
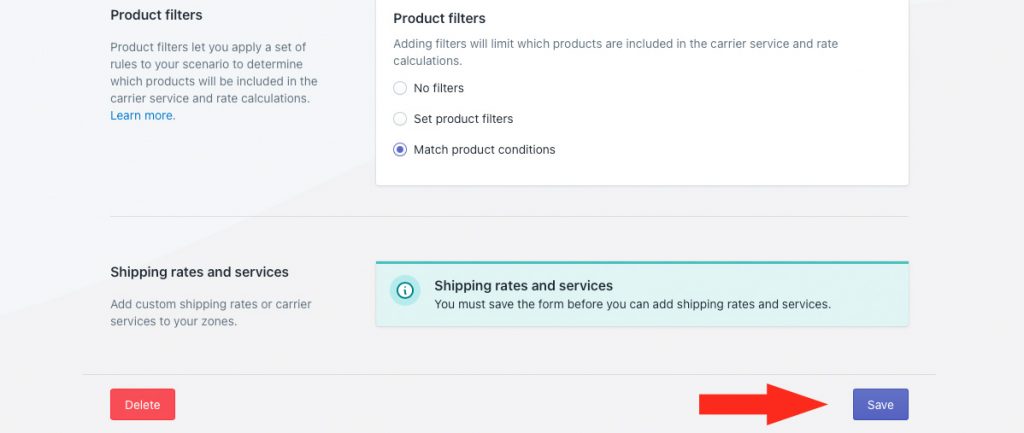
7) If you are creating a new Scenario, you will need to add your shipping method. If you’re using a live rate carrier, create a parcel service shipping method. If you’re using custom rates or a table of pre-determined rates, create a custom service shipping method.
If you are editing an existing Scenario, you will likely not need to make any changes to the shipping method (or methods) already assigned to the Scenario.
8) If you have, or need, more than one Scenario that requires the PO Box exclusion condition, repeat Steps 1 to 7 for each additional Scenario.
Add A PO Box Inclusion Condition
This will let you offer an alternative shipping method to customers with a PO Box in their address, if it’s feasible to do so.
1) Click Shipping on the sidebar menu, then select Scenarios from the drop-down list.

2) Click edit beside an existing Scenario – one that already has a PO Box exclusion condition that prevents customers with a PO Box from checking out.

3) Click Duplicate. This will create an exact copy of the Scenario, including any conditions, product filters and shipping methods within it.
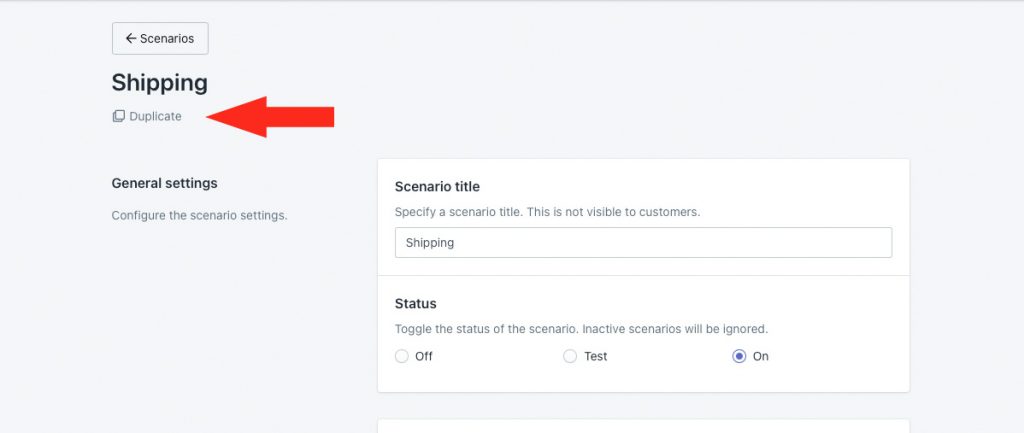
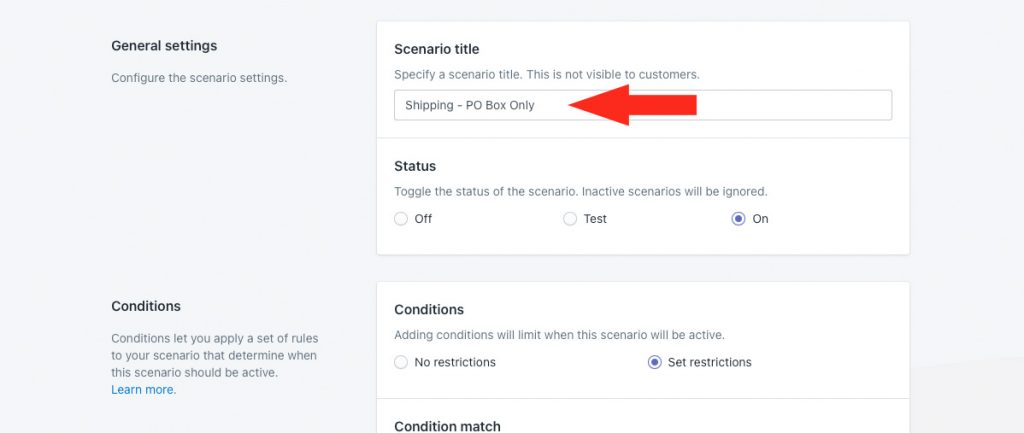
4) Change the title from ‘Copy of [original title]’ to something that helps you identify it as PO Box-inclusive, such as adding ‘PO Box Only’ to the end of the original title.
5) Find the existing ‘Post office box’ condition, then change the condition value to ‘Yes’.
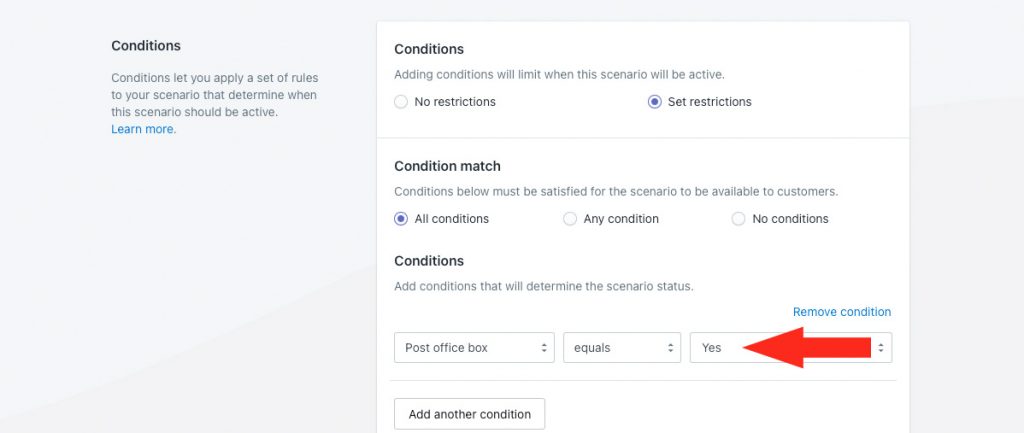
That means the shipping method assigned to the new alternative Scenario will be activated only if a PO Box is included in the address.
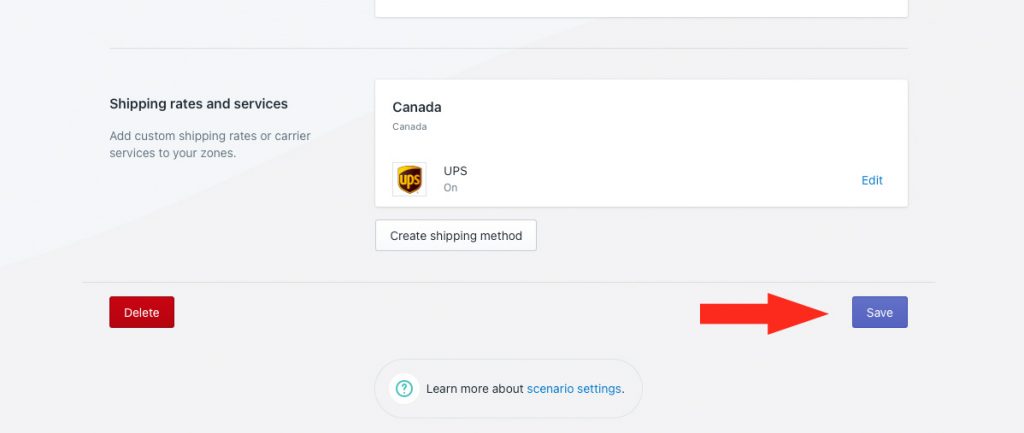
6) Click the Save button to save the PO box inclusion condition and the new Scenario.
Change The Shipping Method
Now that you have created a new Scenario that allows PO boxes, you’ll need to change the shipping method to one that calculates shipping for PO boxes.
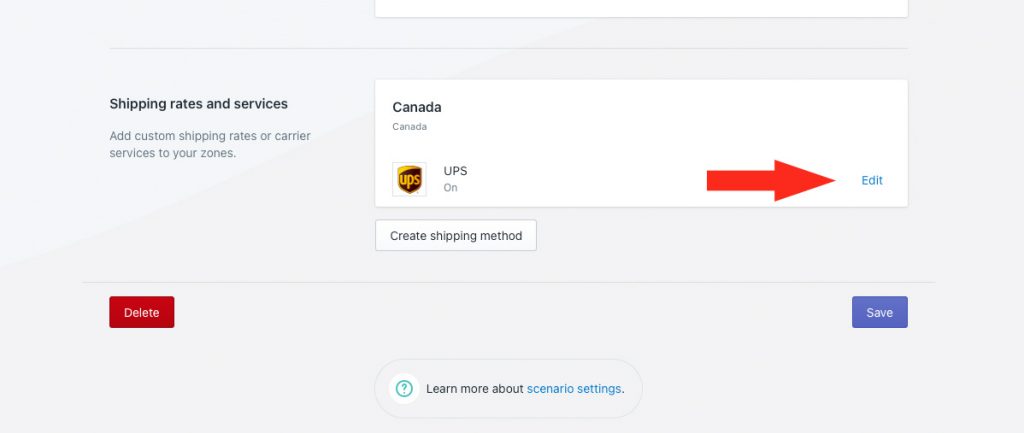
1) Click Edit beside the existing shipping method – the one that can’t ship to PO boxes. This was copied over when you created the Duplicate Scenario.
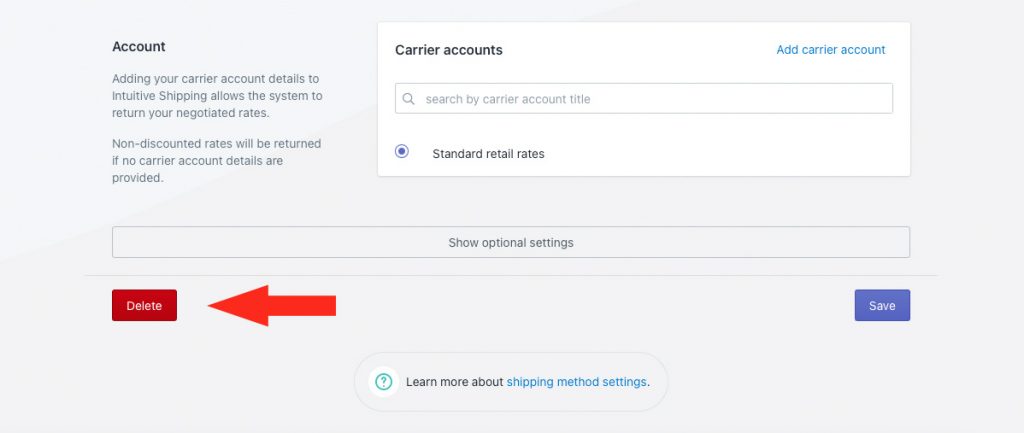
2) Scroll to the bottom of the shipping method, then click the Delete button. You will be asked to confirm you want to delete the shipping method. Once confirmed, you will be returned to the Edit Scenario page.
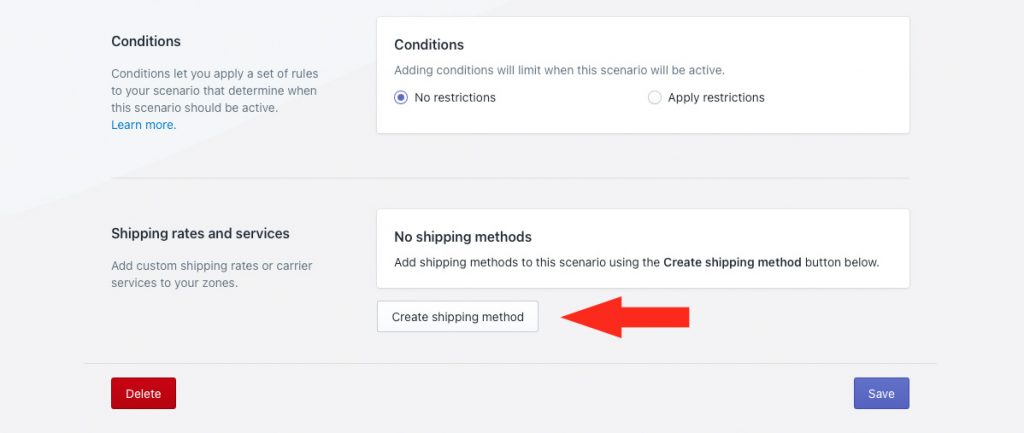
3) Click the Create shipping method button.
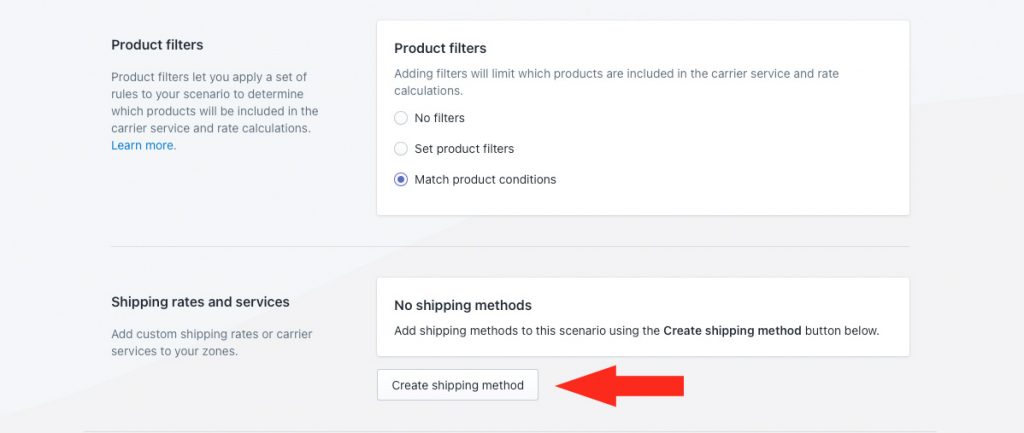
4) Add a new shipping method that is suitable for PO Box addresses. If you’re using a live rate carrier, create a parcel service shipping method. If you’re using custom rates or a table of pre-determined rates, create a custom service shipping method.
Learn how to do more with Intuitive Shipping or check out our FAQ.
