Intuitive Shipping lets you use Postal Codes or Zip Codes to restrict shipping or offer exclusive shipping options to regions that can’t be set up as their own Shipping Zone, such as UK countries.
If you are a UK-based store shipping domestically, or if you ship only to certain parts of the UK, we recommend using this more detailed guide about setting up UK Postcode Sub-zones.
Add A Sub-zone Condition Group
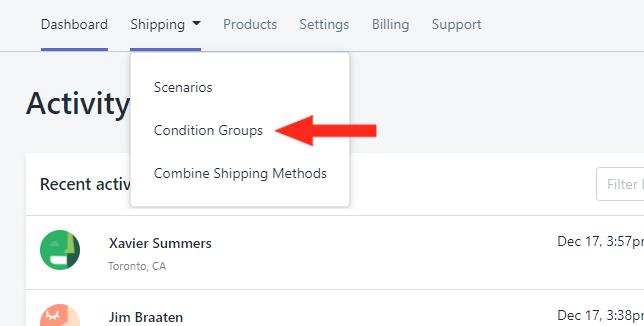
1) Click Shipping on the main menu, then select Condition Groups from the drop-down list.
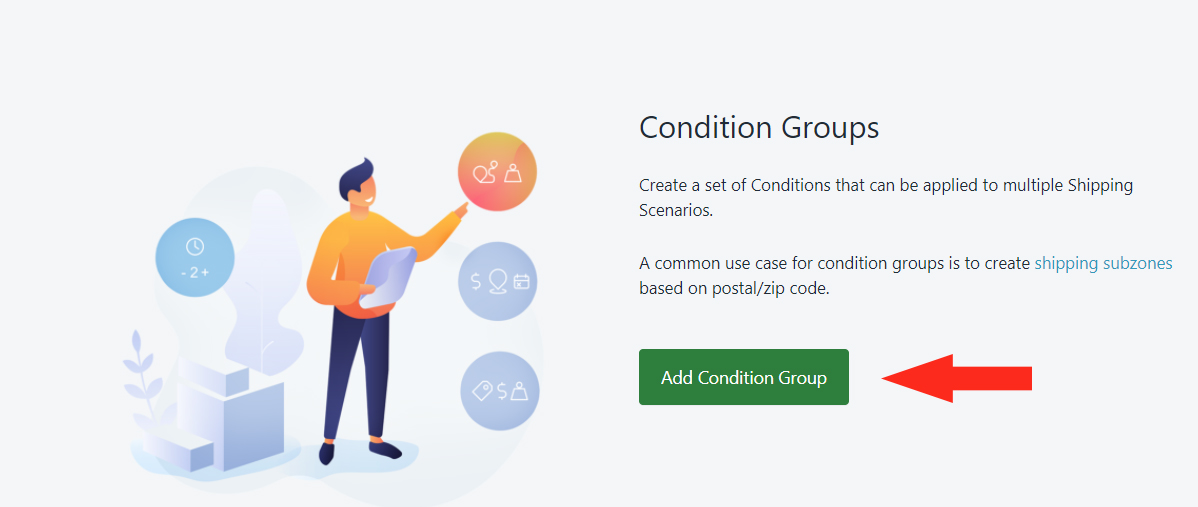
2) Click the Add Condition Group Button.
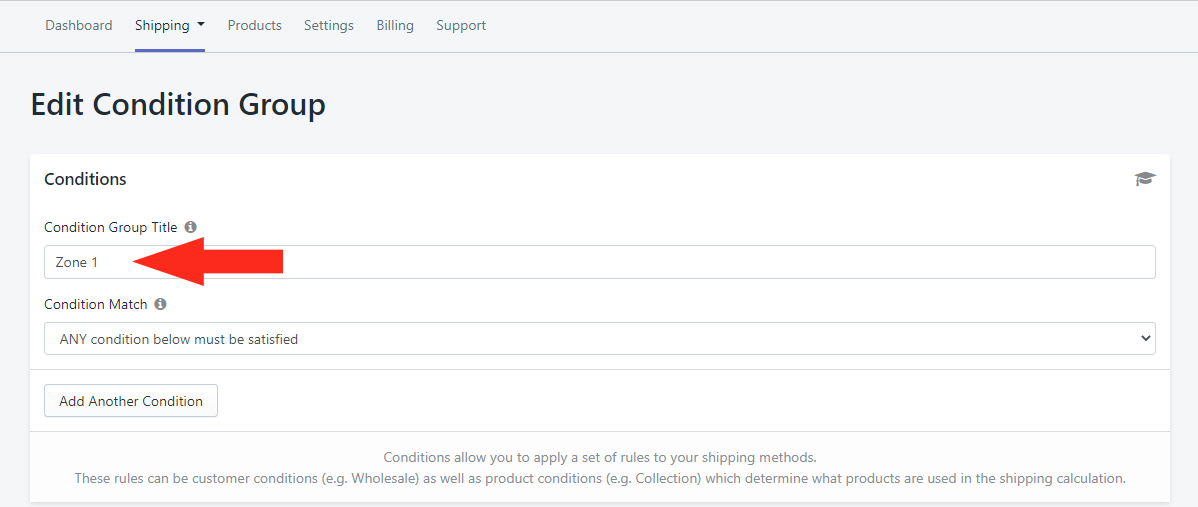
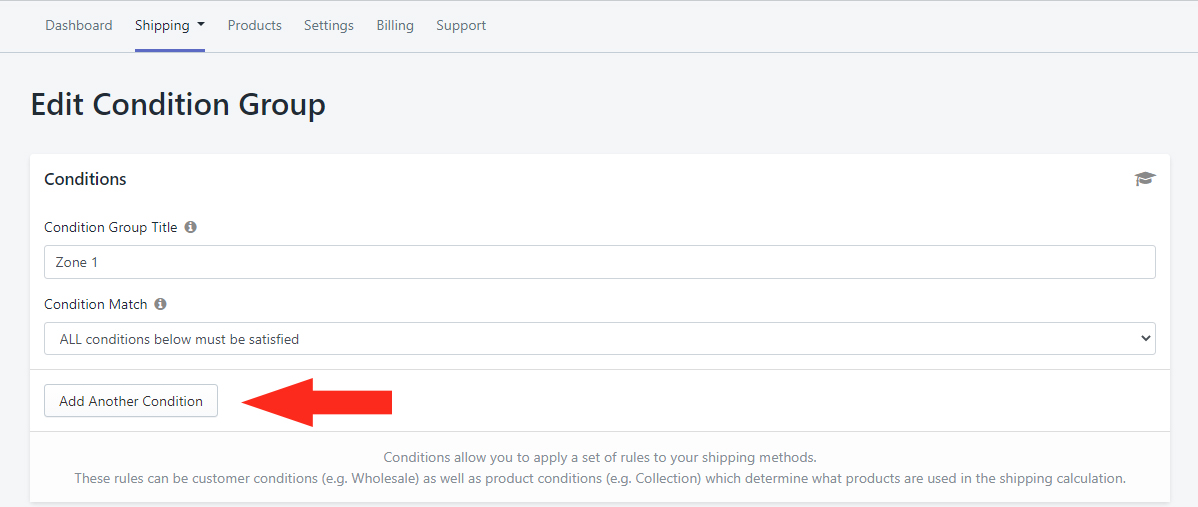
3) Enter a Condition Group Title – e.g. Zone 1.
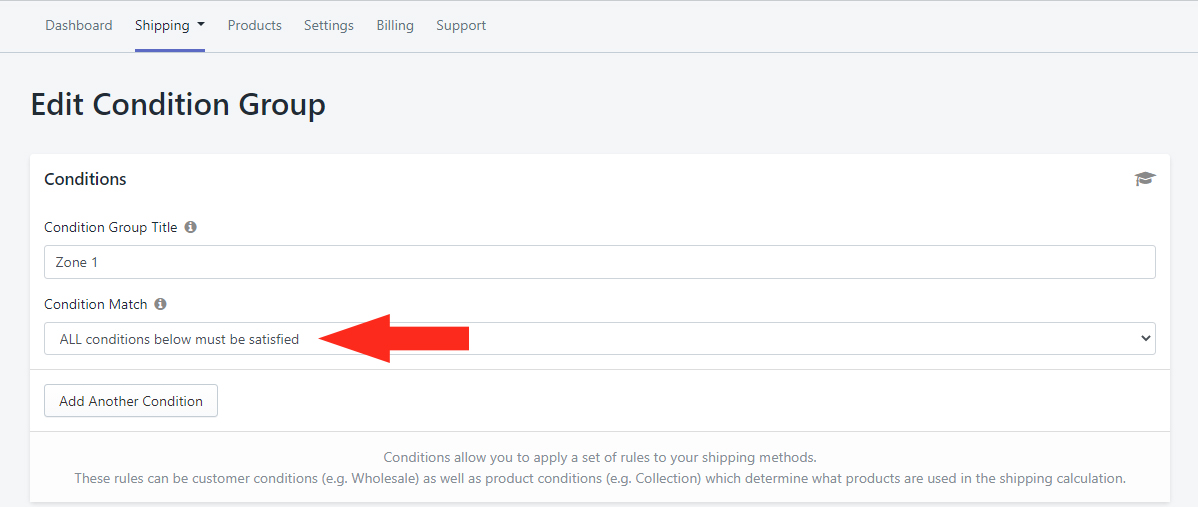
4) Under Condition Match, select All Conditions Below Must Be Satisfied.
5) Click the Add Another Condition button.
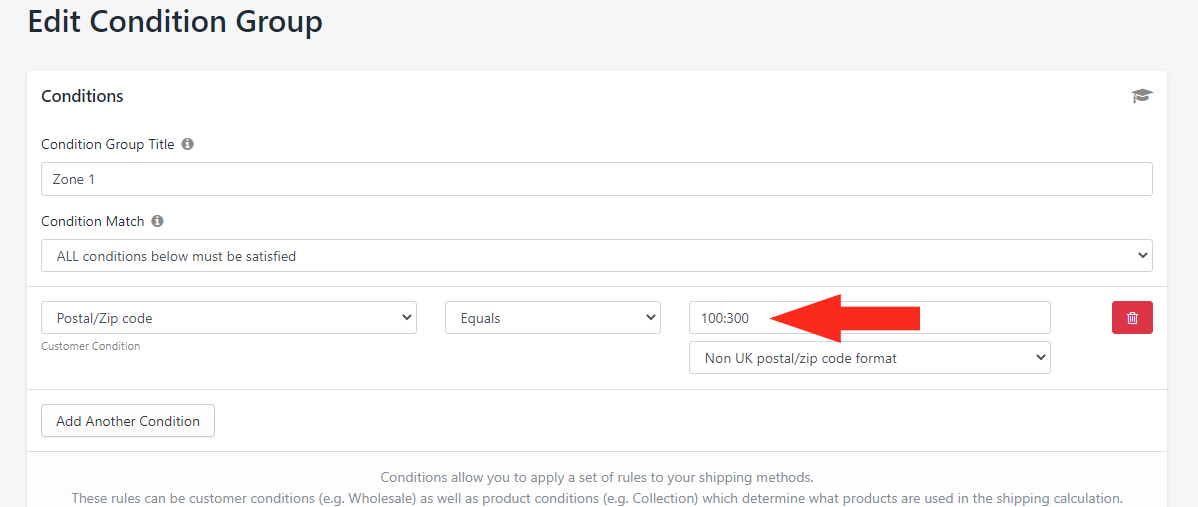
6) Click the Condition field, then select Postal Code/ Zip Code under the Customer Conditions section.
7) Set the Condition logic to Equals.
8) Enter the Postal Code/ Zip Code range – e.g. 100:300.
Zip codes and non-UK postal codes can be abbreviated without their suffixes. For example, if you want to create a sub-zone for Downtown Toronto, you can enter the postal code range as M5A:M5V instead of M5A0A1:M5V9G9.
Alternatively, you can enter a series of individual postal codes separated by commas – e.g. 10110, 10112, 10115 – or a mix of individual postal codes and ranges – e.g. 10110, 10112:10115, 10117.
9) Select the Postal Code format.
Save Your Settings
Click the Save button to save your Sub-zone Condition Group!
Add More Sub-zone Condition Groups
1) Repeat Steps 1 to 9 from Add A Sub-zone Condition Group to create any additional sub-zones.
Add Sub-zone To A Shipping Scenario
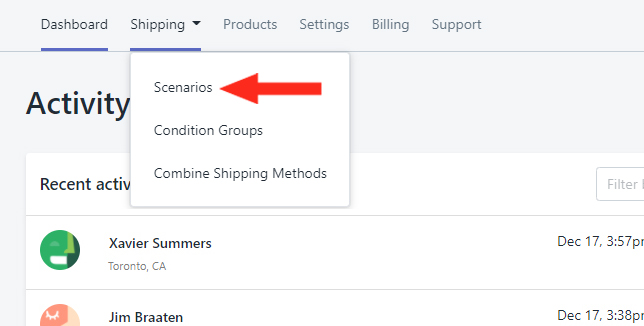
1) Click Shipping on the main menu, then select Scenarios from the drop-down list.
2) Create a new Shipping Scenario or edit an existing Scenario.
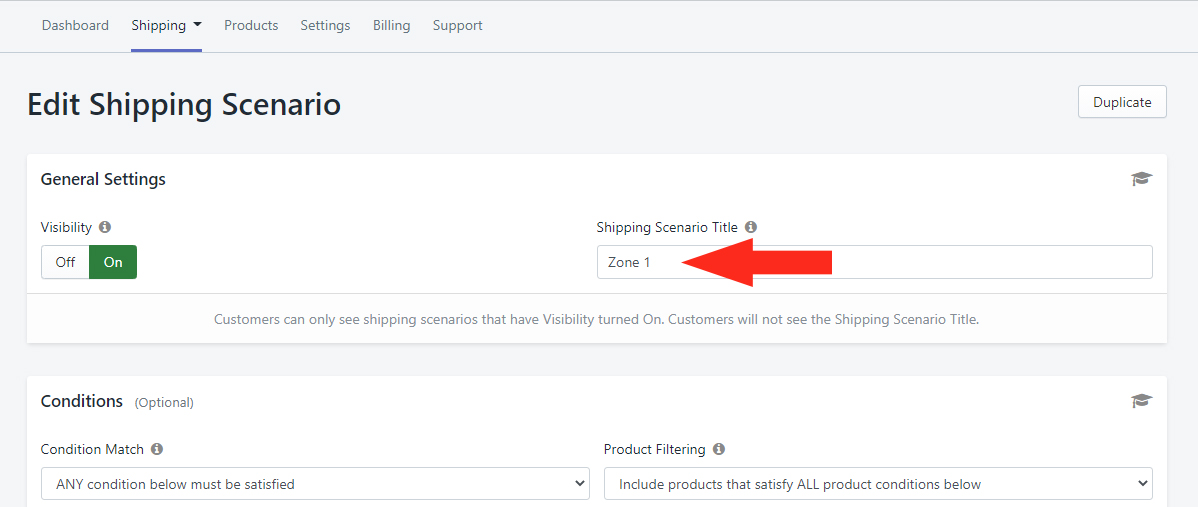
3) If creating a new Scenario, set Visibility to On.
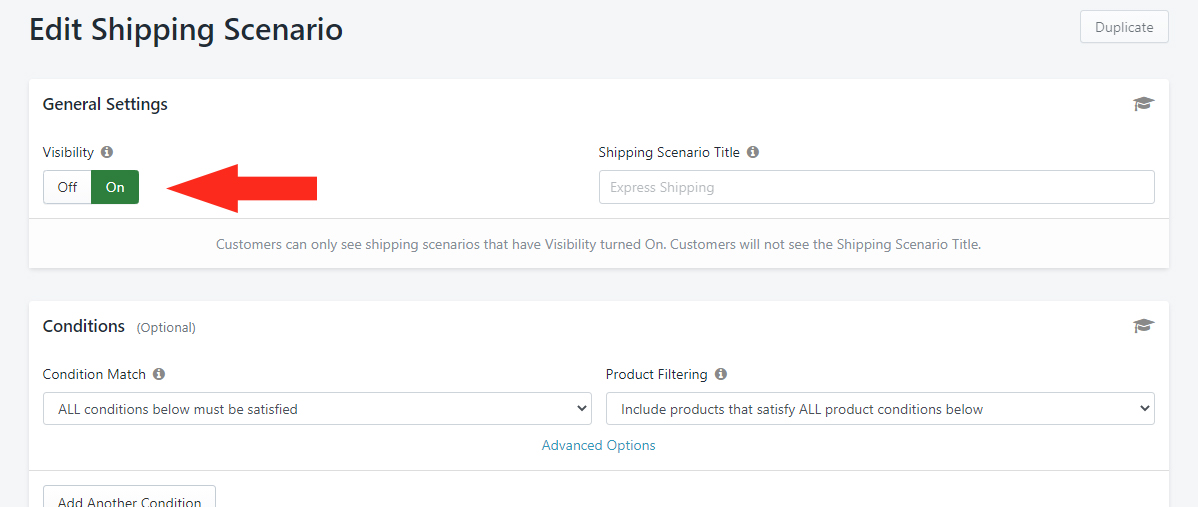
4) If creating a new Scenario, enter the Shipping Scenario Title – e.g. Zone 1. You can name the Scenario after a Sub-zone Condition Group or you can enter a different title.
Set The Sub-zone Condition
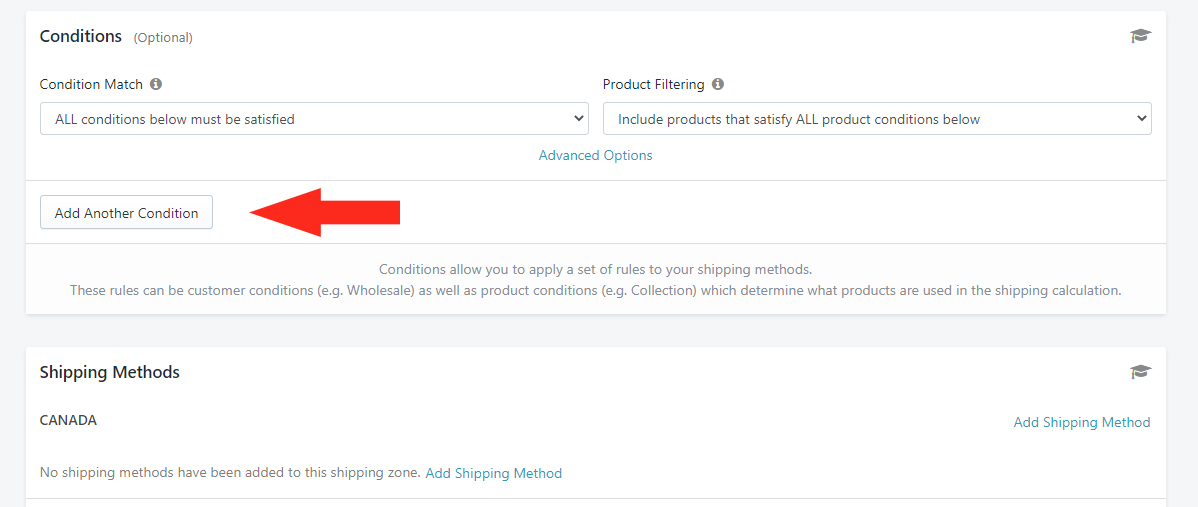
1) Leave the settings under Condition Match, Product Filtering, and Advanced Options on their Default settings.
2) In the Conditions section, click the Add Another Condition button.
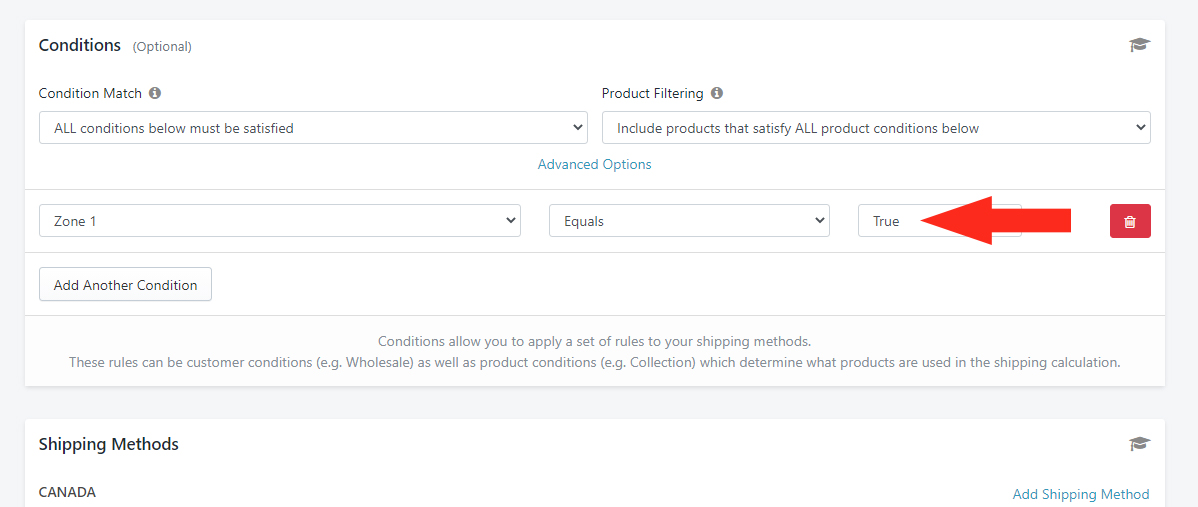
3) Click the Condition field. Then from the list of options, select your newly created sub-zone under the Conditions Group section.
4) Set the Condition logic to Equals or Does Not Equal.
Select Equals if customers with postal codes in this sub-zone are eligible for shipping rates from this Scenario.
Select Does Not Equal if customers with postal codes in this sub-zone are ineligible for shipping rates from this Scenario.
5) Set the Value to True.
6) If desired, repeat Steps 3 to 5 to add more excluded sub-zones to the Scenario.
For example, if you created two (2) Sub-zone Condition Groups – Zone 1, and Zone 2 – and customers from both Zones are ineligible for shipping rates, you can add two conditions:
Zone 1 Does Not Equal True
Zone 2 Does Not Equal True
That’s because a customer’s address would have to be included in every sub-zone for the Scenario to work correctly.
Alternatively, we recommend creating separate Scenarios for each included Sub-zone Condition Group. See Add More Sub-zone Scenarios below.
Add A Shipping Method
If your Scenario already includes Shipping Methods and you don’t need to make any changes, skip ahead to Add More Sub-zone Scenarios.
1) In the Shipping Methods section, click Add Shipping Method beside a Shipping Zone that includes the sub-zones referenced in this Scenario.
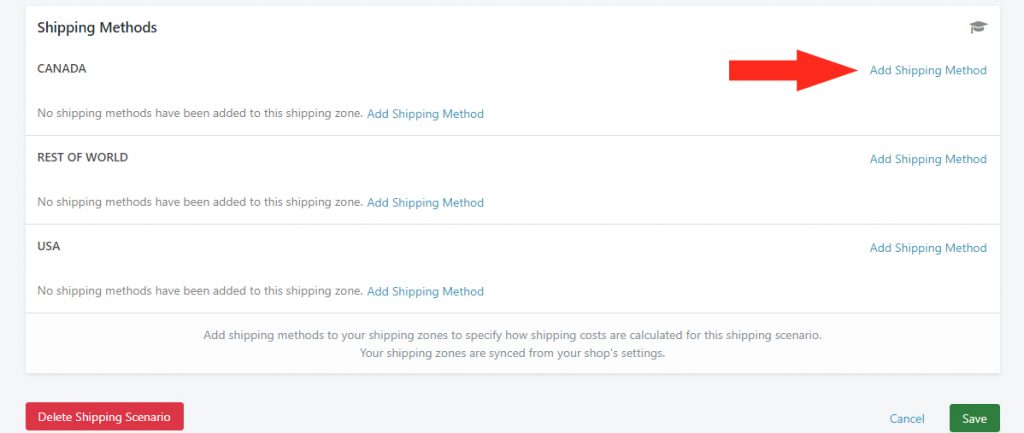
To learn how to add a Custom Shipping Method with flat shipping rates or a table of pre-determined rates, click here. To learn how to add a Live Rate Shipping Method with real-time shipping rates from your preferred carrier, click here.
Save Your Settings
Click the Save button!
Add More Sub-zone Scenarios
You can create a separate Scenario for each sub-zone. To simplify the process, you can make a Duplicate of your first Scenario, then make minor adjustments to the Condition and Shipping Methods, rather than creating a new Scenario from scratch.
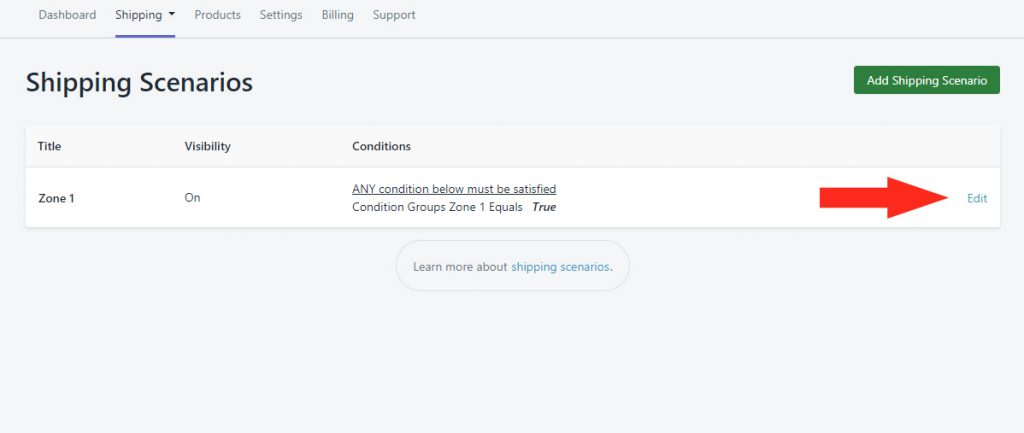
1) Click Shipping on the main menu, then select Scenarios from the drop-down list.
2) Click Edit beside your Zone 1 Scenario (or whatever title you chose to give your original Scenario).
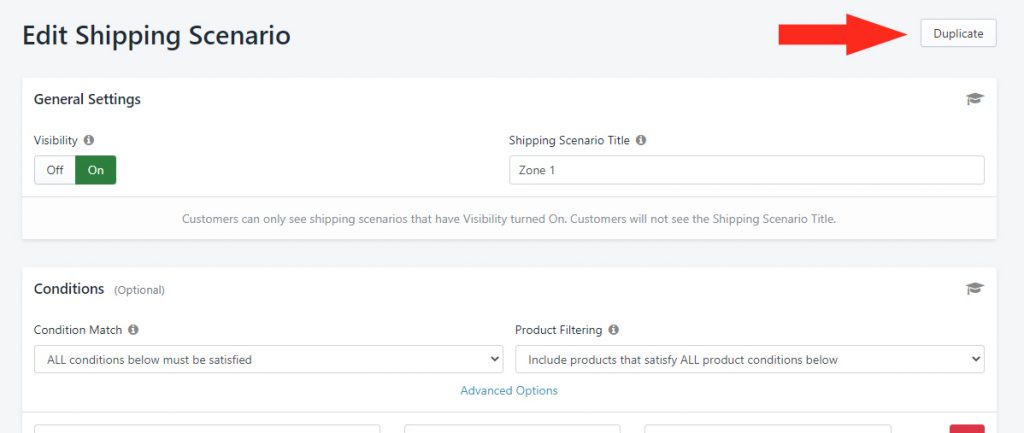
3) Click the Duplicate button in the top right. This will create an exact copy of the Zone 1 Scenario, including any Shipping Methods.
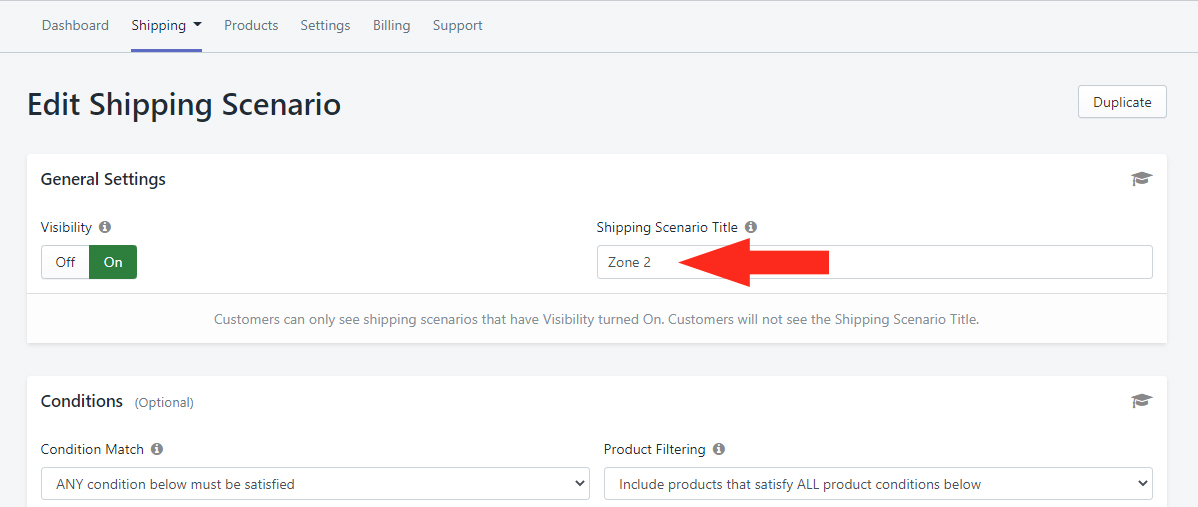
4) Confirm Visibility is set to On.
5) Change the Shipping Scenario Title from ‘Copy of [your original title]’ to a new title – e.g. Zone 2. As with the original, you can name your Duplicate Scenario anything.
Update The Shipping Methods
When you created a Duplicate of the original Scenario, it included exact copies of the Shipping Methods you added to the original.
For your Duplicate Scenarios, you may wish to add new Shipping Methods from scratch, remove Shipping Methods that don’t apply or edit an existing Shipping Method to make minor adjustments – e.g. the Shipping Cost.
Save Your Settings
Click the Save button!
What’s Next: Test Your Setup or check out Additional Setups