If rates aren’t being calculated or displayed by Intuitive Shipping, here are some things you can do to troubleshoot.
Check For Errors
It is possible that rates are not being calculated or displayed due to an error. To see if recent shipping calculations are resulting in errors check Warnings & Errors.
1) Click Settings on the main menu.
2) Scroll down to the Warnings & Errors section.

3) Review the error messages. If there are no recent error messages, continue to the next troubleshooting step. If a recent error is displayed and you are unsure why or you’re not sure what it means, please contact us or submit a support request through the app.
Check Visibility Settings
Intuitive Shipping lets your control the general visibility of your entire setup as well as the visibility of individual Shipping Scenarios. Here’s how to check both.
Check General Visibility Settings
After you activate your account, you can hide Intuitive Shipping from your customers to conduct any last-minute or emergency testing on your Scenarios. Once your testing is finished, you will need to turn visibility on for Intuitive Shipping to display rates to your customers.
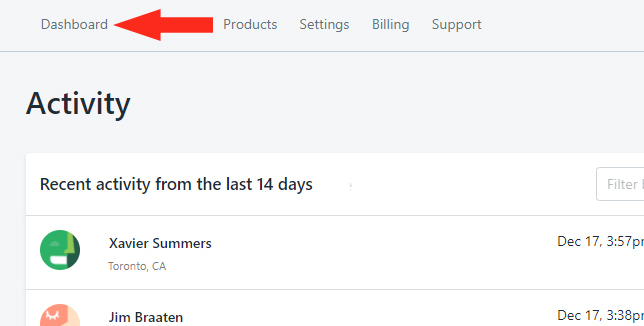
1) Click Dashboard on the main menu.
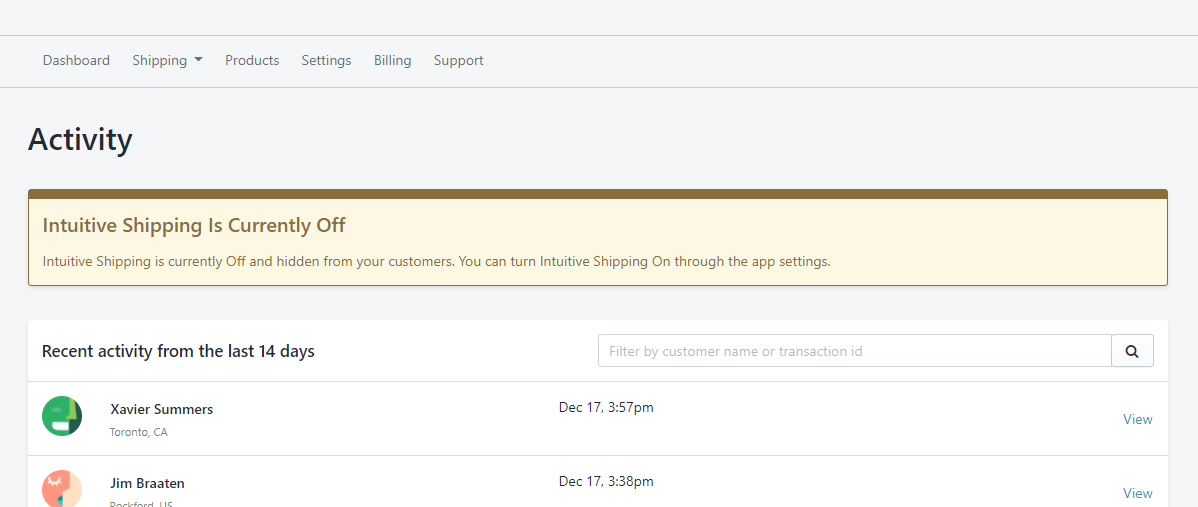
2) Check the top of the Activity Dashboard for the yellow warning banner titled ‘Intuitive Shipping is Currently Off’.
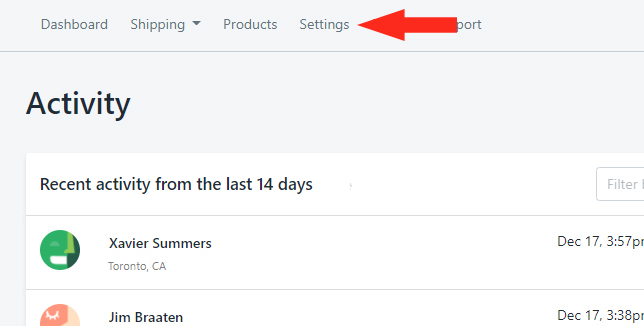
3) If the banner is displayed, click Settings on the main menu.
4) In the General section, confirm that Visibility is set to On (green). If Visibility is On, skip ahead to Check Shipping Scenario Visibility Settings. Otherwise, continue to Step 5.
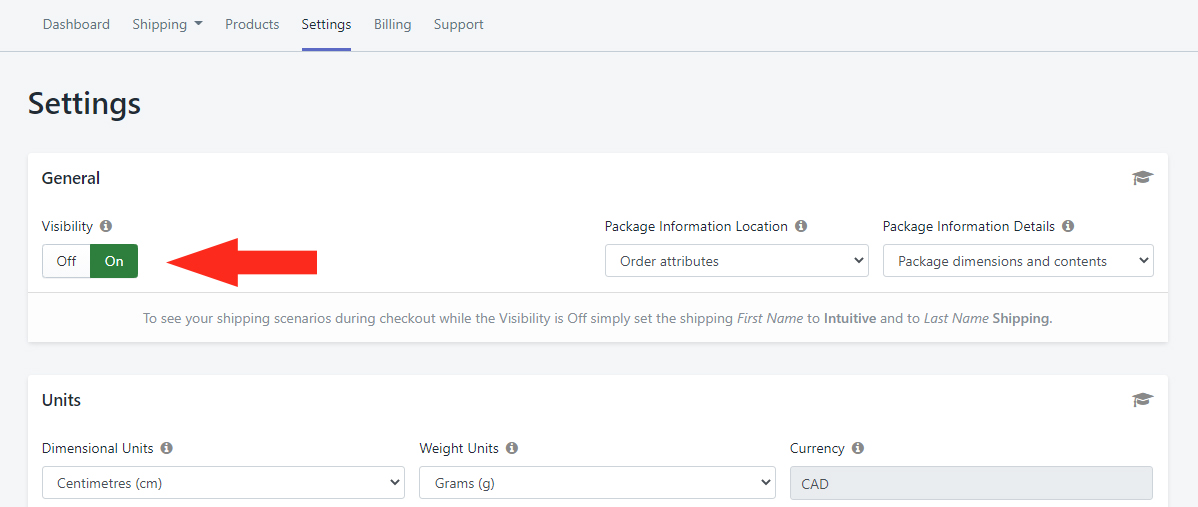
5) If Visibility is Off (green), click On to toggle the setting.
6) Click the Save Settings button at the bottom of the page to save your Visibility settings.
Check Shipping Scenario Visibility Settings
Each Shipping Scenario in Intuitive Shipping has its own Visibility setting. By default, Visibility is set to On when you Create A Shipping Scenario. However, Scenario Visibility can be toggled on and off manually, so it’s possible that Visibility was turned off in error or left off inadvertently.
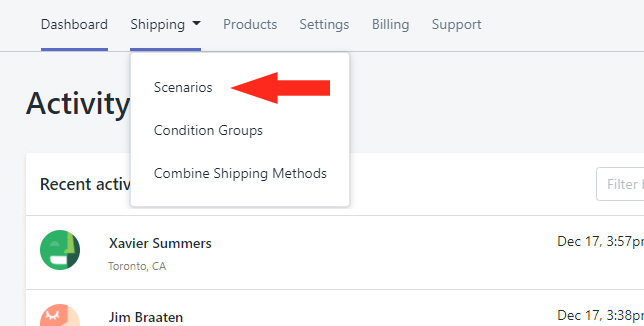
1) Click Shipping on the main menu, then select Scenarios from the drop-down list.
2) Check the current Visibility setting for each of your Shipping Scenarios. Under the Visibility heading, either ‘On‘ or ‘Off‘ is displayed beside each Scenario.
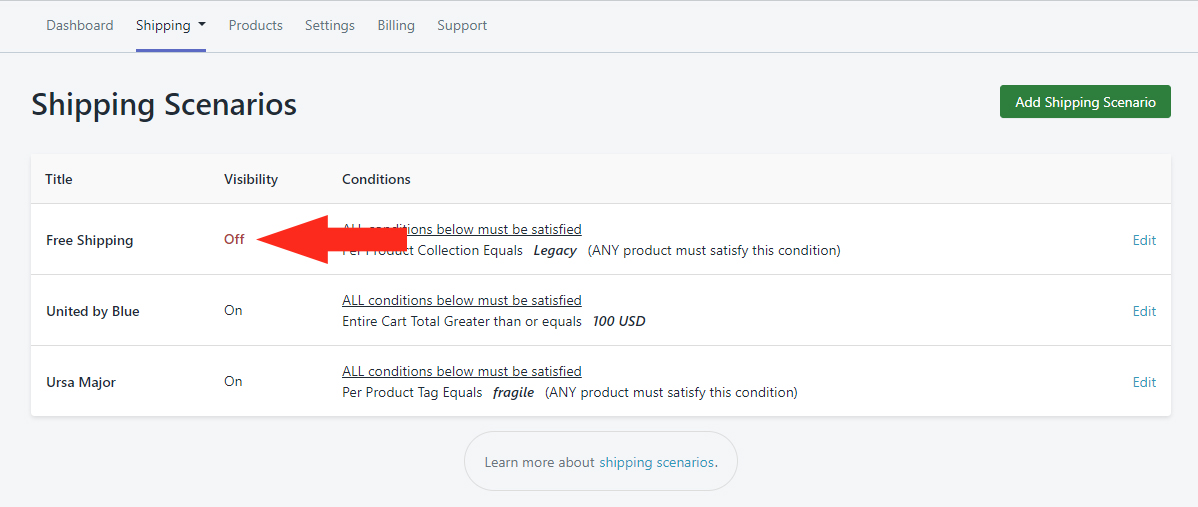
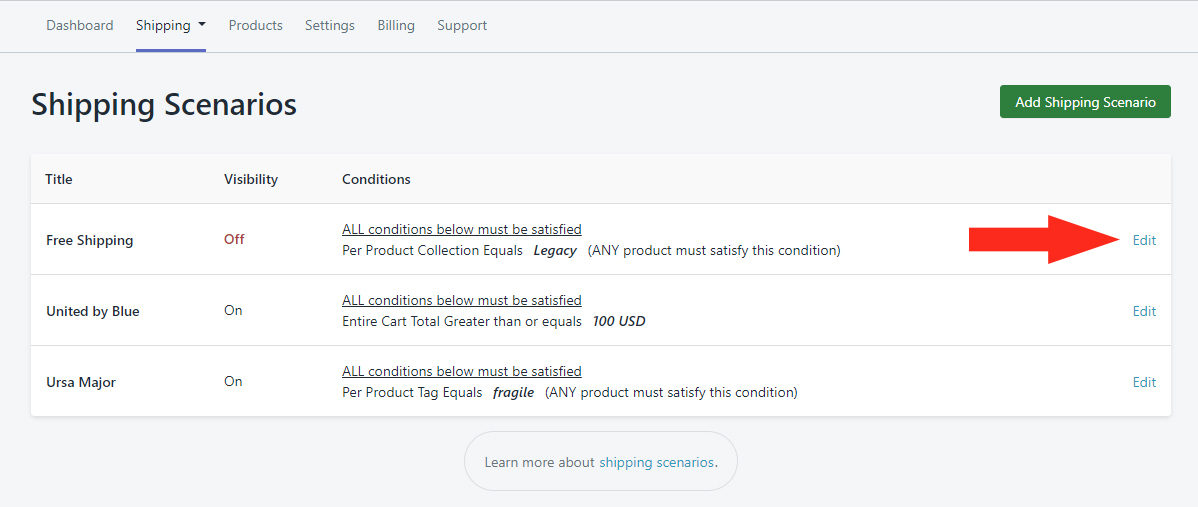
3) If a Scenario is set to Off, but you want it to be visible, click Edit beside the Scenario.
4) Toggle the Visibility setting to On (green).
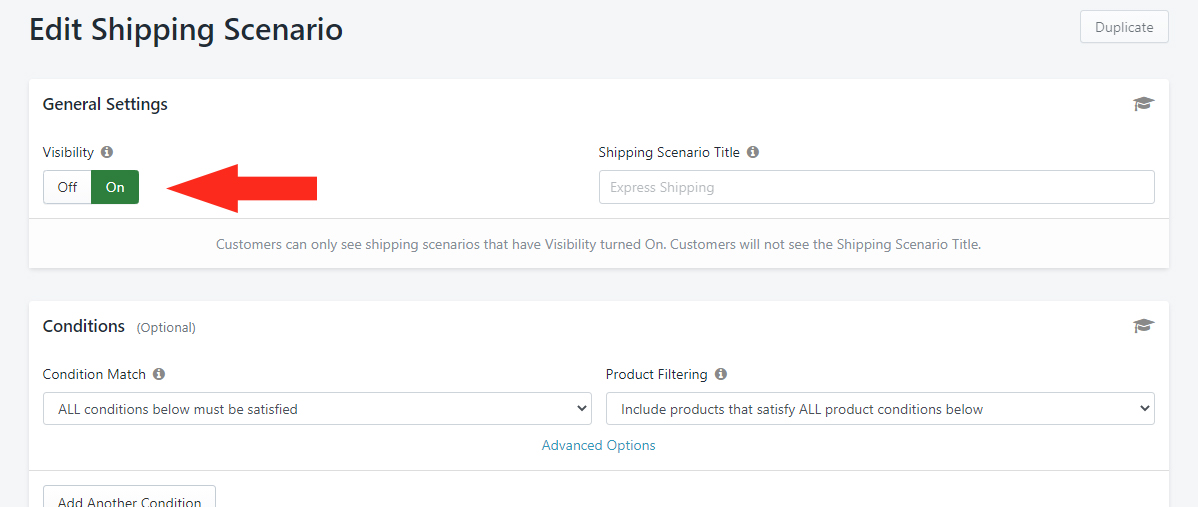
5) Click the Save button at the bottom of the Edit Shipping Scenario page to save your Visibility settings.
6) Repeat Steps 1 to 5 for each Scenario that needs to be made visible.
Check Shopify Settings
Shopify automatically adds Intuitive Shipping to your General Profile as a Carrier Service when you install the app. If you removed Intuitive Shipping from your General Profile you will need to add Intuitive Shipping again through your Shopify Settings.
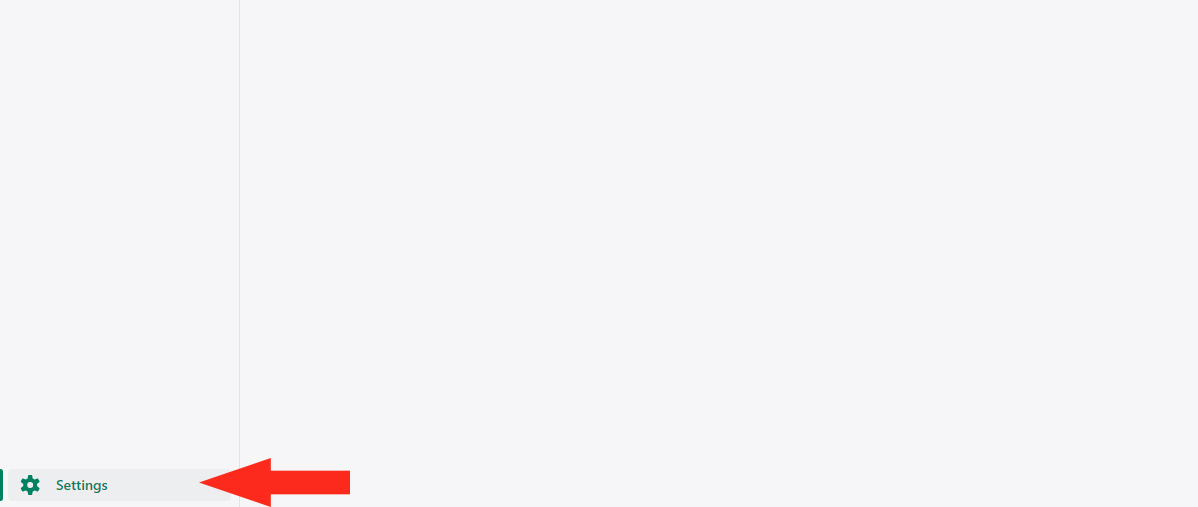
1) Click Settings at the bottom of the left sidebar in your Shopify store.
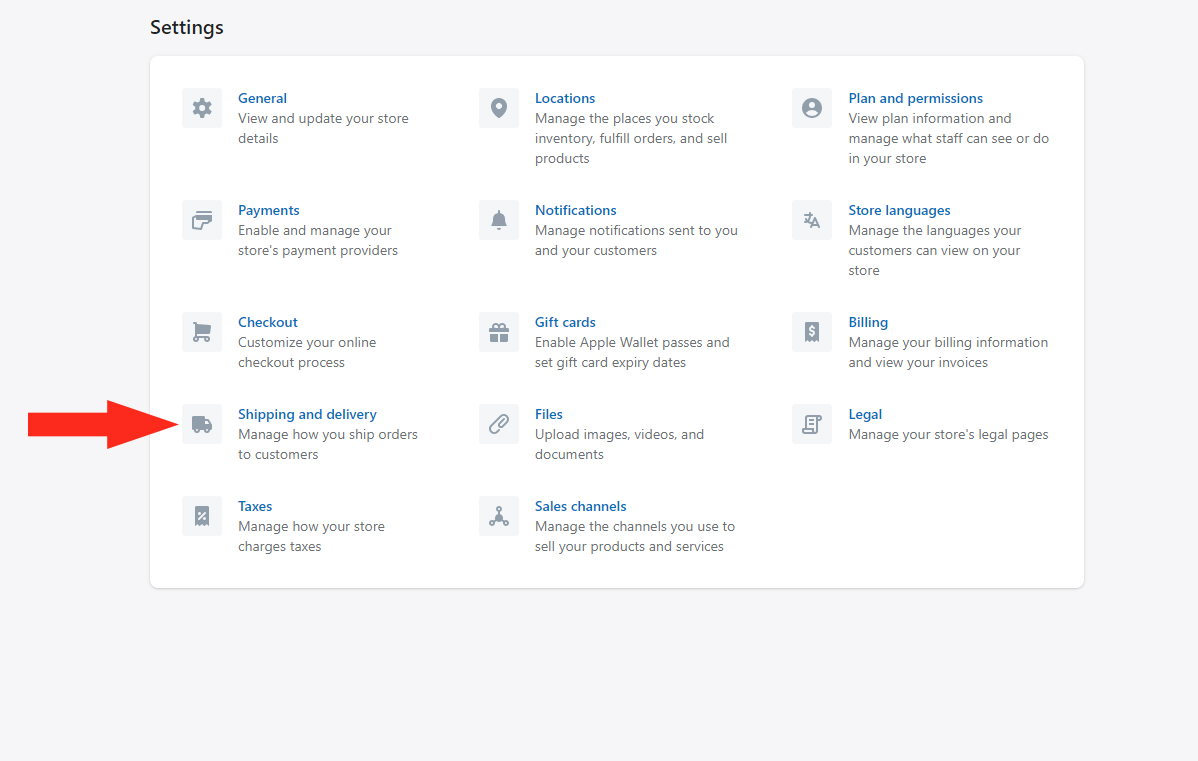
2) Click on Shipping and delivery.
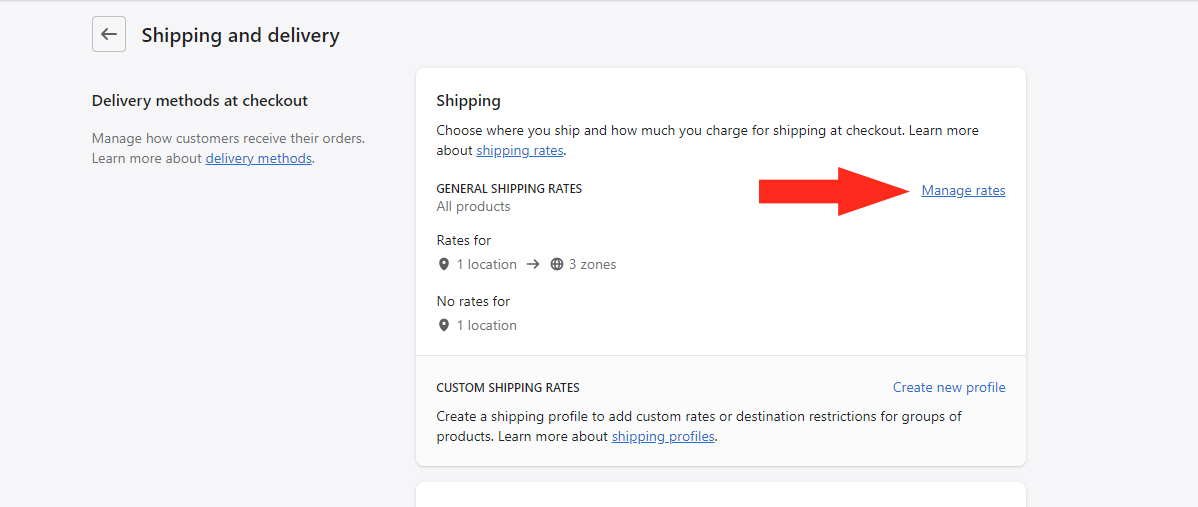
3) Click Manage rates beside General Shipping Rates in the Shipping section at the top of the page.
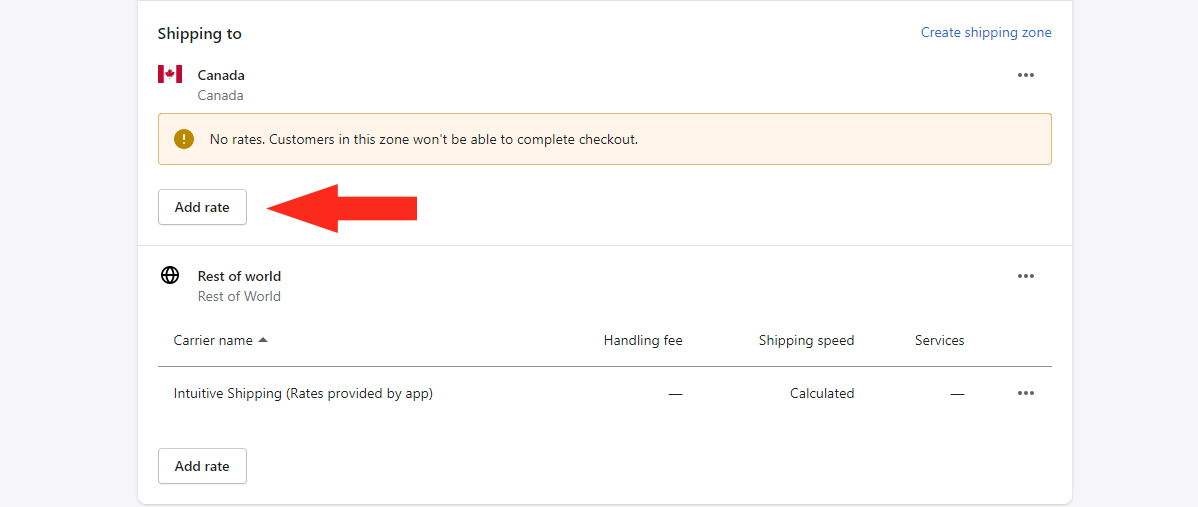
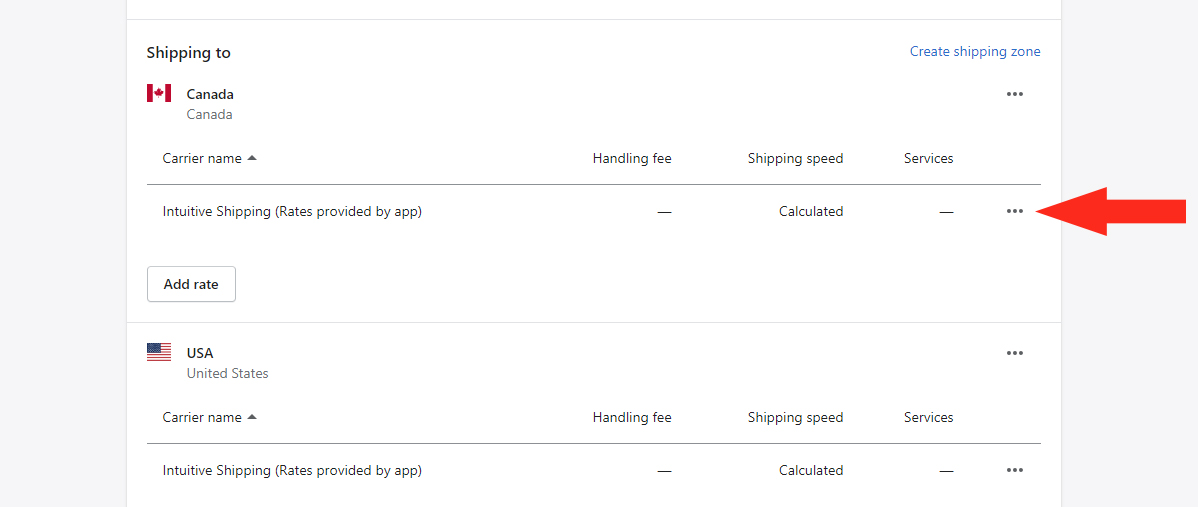
4) Confirm that all of your Shipping Zones have Intuitive Shipping listed as a rate provider.
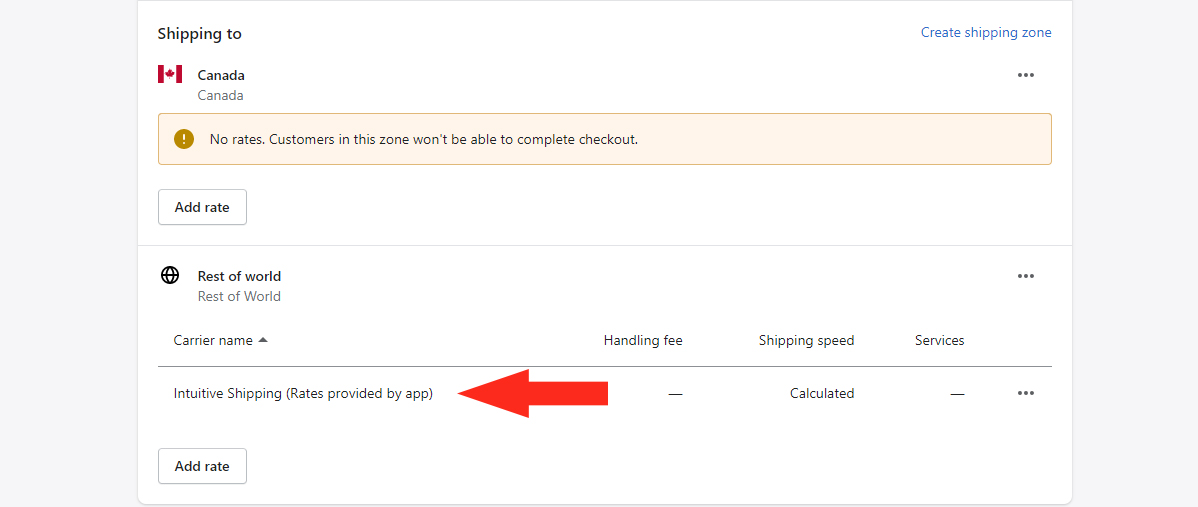
If all of your Shipping Zones do have Intuitive Shipping as a rate provider, you can also check to ensure that Future Services is enabled. To do this, skip ahead to Check Future Services Settings. Otherwise, continue to Step 5.
5) For any Shipping Zones that do not have Intuitive Shipping listed, click the Add rate button.
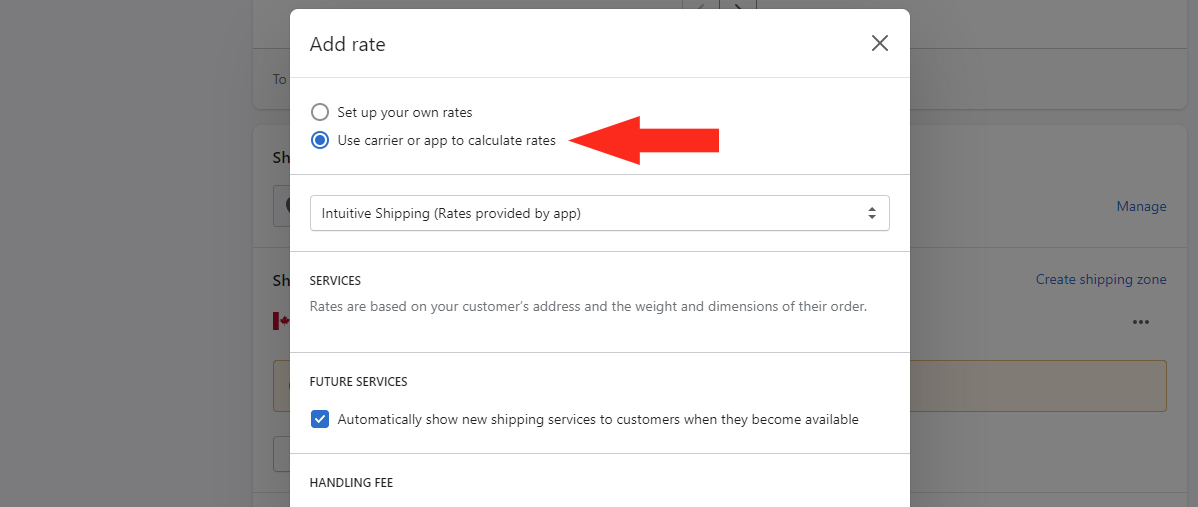
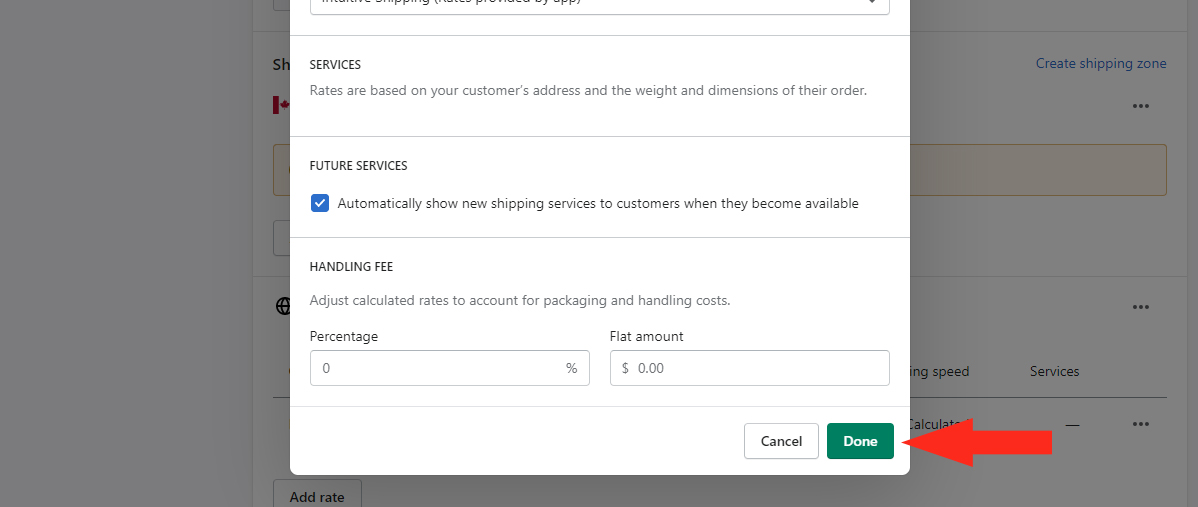
6) In the Add rate popup box, select Use carrier or app to calculate rates
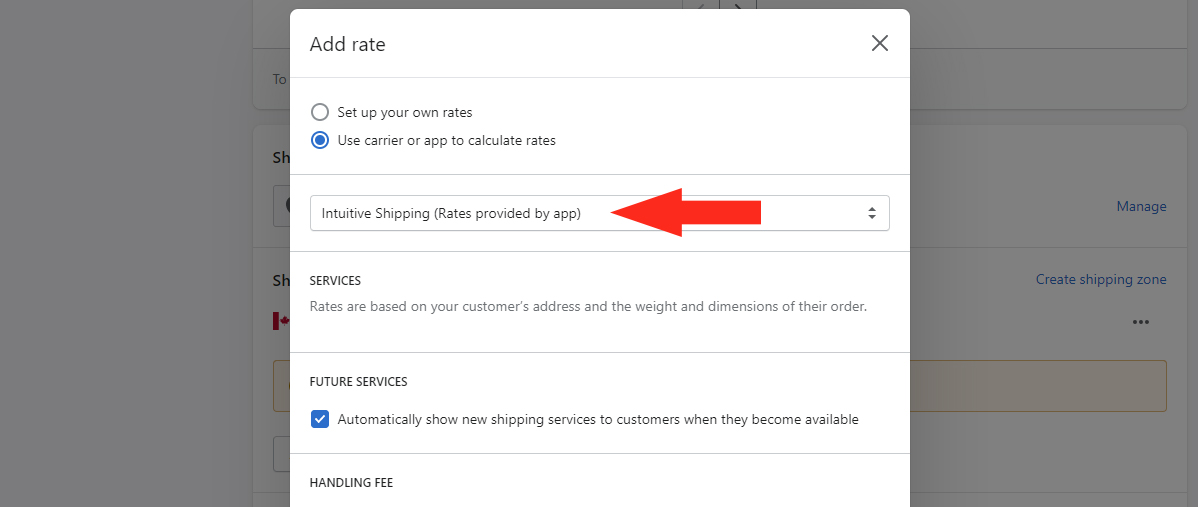
7) Select Intuitive Shipping (Rates provided by app) from the drop-down list.
8) Ensure that the check box under Future Services is checked.
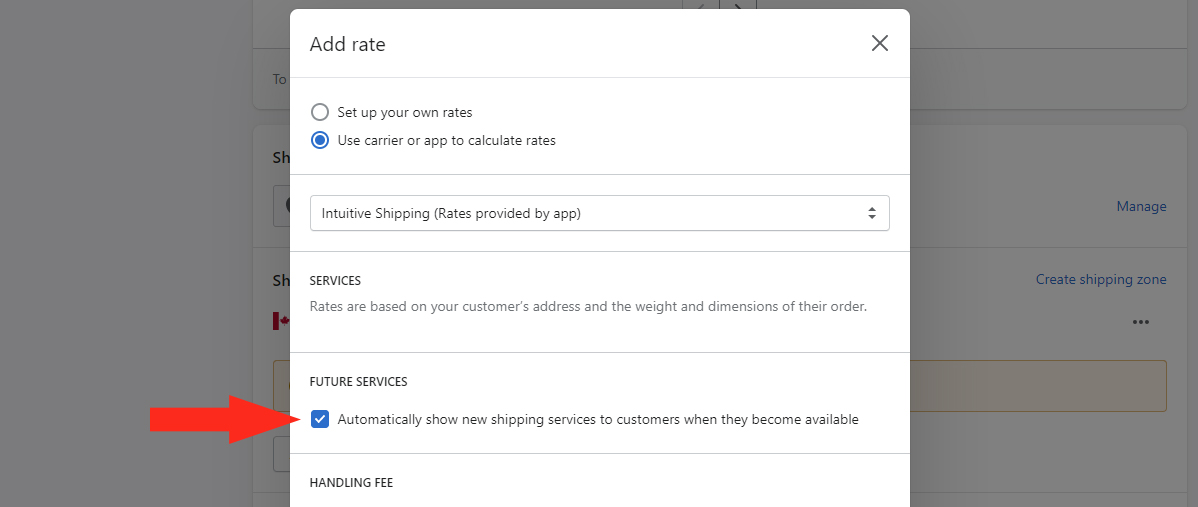
9) Click the Done button to save your settings.
10) Repeat Steps 1 to 9 to add Intuitive Shipping as a Carrier Service to each Shipping Zone in your General Profile.
Check Future Services Settings
If you confirmed that all of your Shipping Zones include Intuitive Shipping as a rate provider, you can still check to ensure that the Future Services box is checked.
1) Under any Shipping Zone, click the three dots beside Intuitive Shipping (Rates provided by app).
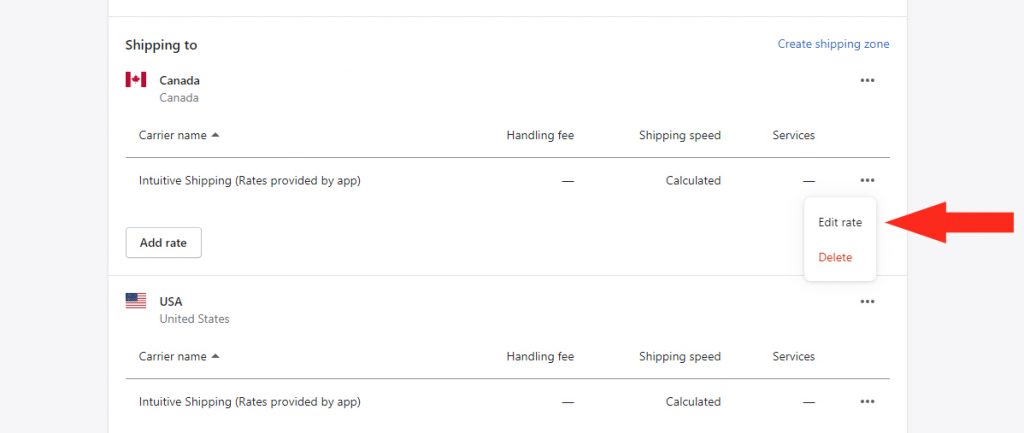
2) Click Edit Rate on the drop-down list.
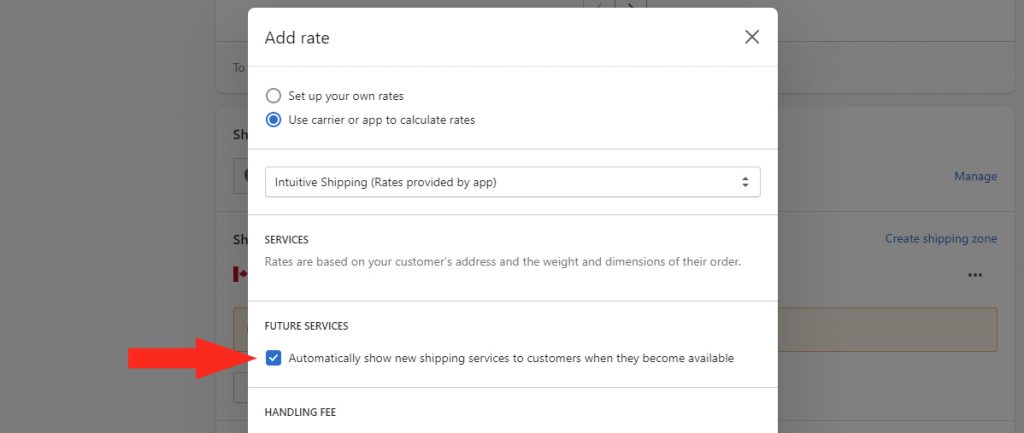
3) Ensure that the check box under Future Services is checked. If it isn’t, add a checkmark.
4) Click the Done button to leave or save your settings.
5) Repeat Steps 1 to 4 for each Shipping Zone.
Enable Carrier-calculated Shipping
Shopify requires the third-party Carrier-calculated Shipping Rates feature to be enabled in your Shopify settings when using any third-party shipping calculation app, including Intuitive Shipping – even if you’re not using live rates from a carrier – e.g. Fed Ex, USP. If third-party rates are not enabled, you will see a red warning banner on the Intuitive Shipping dashboard.
1) Click Dashboard on the main menu.
2) Check the top of the Activity Dashboard for the red warning banner titled ‘Third-Party Calculated Shipping Rates’.

3) If the red banner is displayed, contact Shopify.
Check Carrier-Calculated Rates Status in Shopify
In some rare cases, the red banner is not displayed, even though the Carrier-calculated shipping rates feature is not enabled. If the red banner is not displayed on the Activity Dashboard, you can also verify your Carrier-calculated Shipping Rates status in your Shopify Settings.
1) Click Settings at the bottom of the left sidebar in your Shopify store.
2) Click on Shipping and delivery.
3) Scroll to the bottom of the Shipping and delivery page.
4) In the Carrier accounts and fulfillment services section, click on Manage integrations.
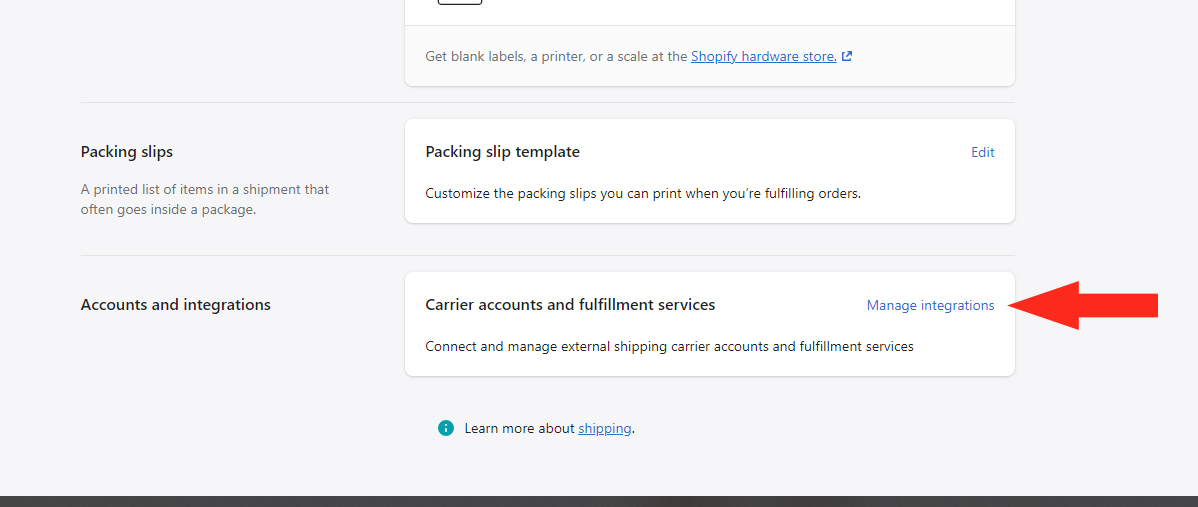
Instead, your Carrier accounts and Custom order fulfillment settings may be accessible directly from the Shipping and delivery page.
5) In either situation, If you are prompted to Enable third-party calculate rates at checkout on the screen, the feature has not yet been enabled.
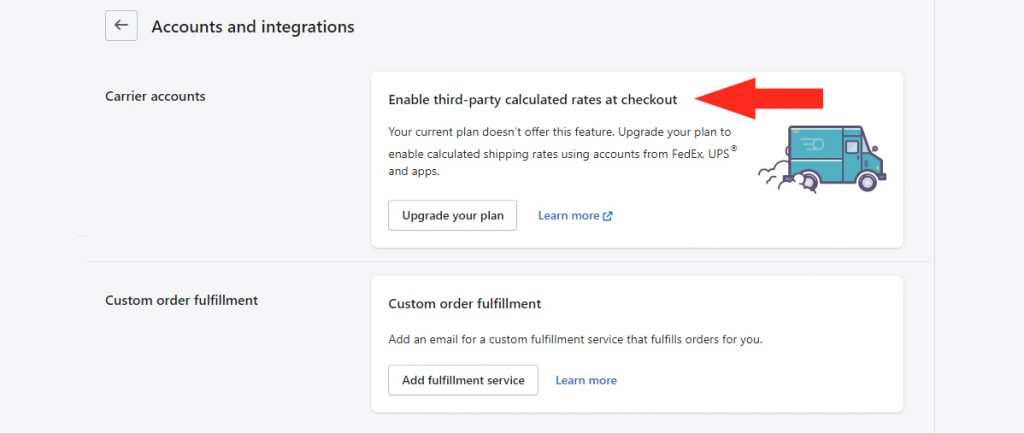
If you do not see this prompt displayed, the feature is already enabled. Skip to the next section and continue reading this guide to resume troubleshooting.
6) To enable this feature, click the Upgrade your plan button and follow the instructions provided. Or, click Learn more to be taken to the Shopify Help Center.
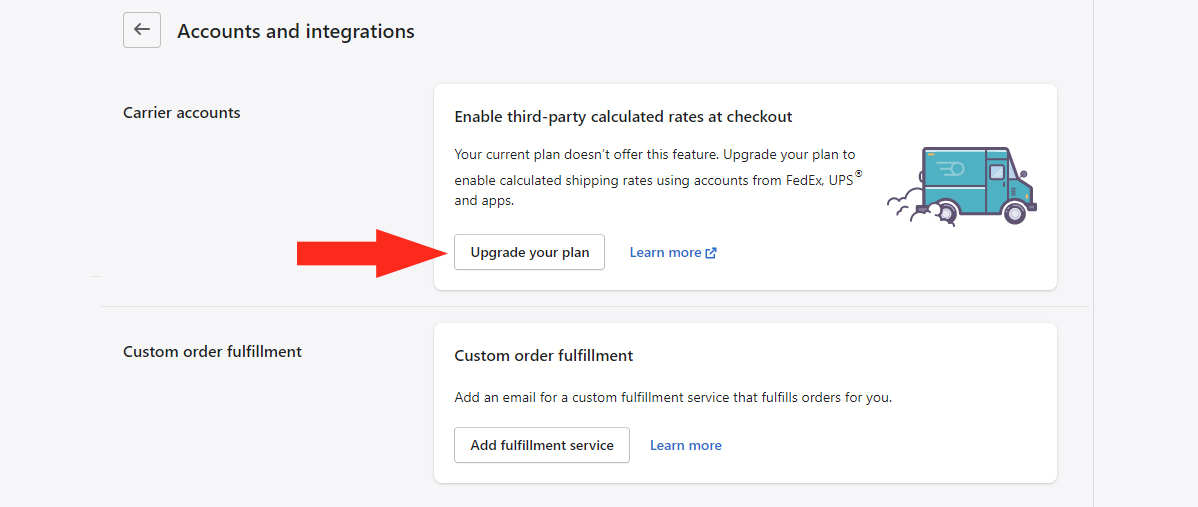
Enabling third-party calculated rates at checkout is a Shopify requirement if you are using any third-party rate calculator, including Intuitive Shipping, even if you’re not planning to connect Intuitive Shipping to a live rate carrier – e.g. FedEx, UPS. The feature is USD $20.00 per month if you are on the ‘Basic’ or ‘Shopify’ plans. If you change your plan to annual billing, Shopify will add the feature at no additional cost – and they will discount your plan by 10%.
To learn how to enable Carrier-Calculated Rates, click Learn more as prompted to be taken to Shopify’s Help Center guide. You will need to contact Shopify directly to have this feature enabled.
If you are on the ‘Advanced’ plan or higher, the feature is already included with your plan and enabled. No further action is required.
Submit A Ticket
If you have completed the Troubleshooting steps and your rates still aren’t appearing, please click here to submit a support ticket or request assistance through the Support page in the app. We’ll be happy to investigate the issue further!